It's Spring, and time for picnics in the park! Tired of the same old peanut butter and jelly sandwich? Why not bake this delicious peanut butter bread and pack your favorite jam to spread on when it's time to eat! This bread takes around an hour to bake, so plan ahead. You can prepare your picnic basket while it bakes so you'll be ready to leave as soon as it comes out of the oven. Simply wrap it in tin foil to keep it warm until you reach your destination. I hope you and your family will enjoy this rich warm bread on your next lunch outing.
2 c. all-purpose flour
1/3 c. sugar
2 tsp. baking powder
1 tsp. salt
1 egg
1 c. milk
3/4 c. peanut butter
(reduced fat or generic brands are NOT reccommended for this recipe)
Your choice of jelly or jam
In a mixing bowl, combine the flour, sugar, baking powder, and salt. Add egg, milk, and peanut butter; stir just until combined. Pour into a greased 8x4x2 inch loaf pan. Bake at 350 degrees for 50-60 minutes or until toothpick comes out clean. Cool for 10 minutes on a wire rack before removing from pan. Slice and serve with your favorite jam!

Wednesday, March 30, 2011
Tuesday, March 29, 2011
Blueberry Dumplings
It's a dreary, chilly, Spring day here in South Georgia; and I thought our family could use some blueberry dumplings to warm us up! My Nanny Nora made blackberry dumplings when I was a kid, and they are equally delicious! However, when making blackberry dumplings, you must thoroughly squeeze the berries in a cheesecloth to extract all of the seeds. That can be quite time consuming, so these blueberry dumplings are a great substitute to the sweet treat I grew up eating.
Blueberry Dumplings
Berry Juice:
1 quart blueberries (rinsed thoroughly)
1 c. sugar
1-2 c. water
Dumplings:
1 c. flour
1 tsp. baking powder
1/2 tsp. sugar
1/4 tsp. salt
1 stick butter (room temperature)
milk
In a medium size mixing bowl, mix flour, baking powder, sugar, and salt. With a fork, cut butter into flour mixture until crumbly. Add a little milk to make the dumplings doughy. Set aside. In a large pot, bring blueberries, sugar, and water to a rolling boil. Drop dumplings in with a regular size teaspoon. Shake pot after dropping several dumplings in. Do not stir!!! Once all dumplings are in, place lid on pot, reduce heat, and cook for about 20 minutes. Do not open lid! Shake the pot several times throughout cooking. Do not stir! Remove lid and let dumplings stand for 5-10 minutes before serving.
*Tips:
- Freezing blueberries? Don't wash them! Simply place them in a Ziplock storage bag and freeze them. When it's time to use them, measure out what you need and wash them at that time.
- My Nanny Nora used flat dumplings in her origional dish of Blackberry Dumplings. She may have made them from scratch, or simply bought them from the freezer section in the grocrey store. Sometimes I make the thick, drop dumplings (above recipe), and sometimes I buy the frozen flat dumplings to use. It's all up to you! Try them both! =)
- I do not eat these with icecream, but I'm sure if you're an icecream kind of person it would be delicious with this dessert! Try it and see! I do remember Nanny pouring evaporated milk over hers at times.
Monday, March 14, 2011
Raspberry-Lemon Whoopie Pies

Lemon Cookies
Raspberry Cream Filling
Directions
You can make the cookies for these whoopie pies a day ahead and fill them just before serving. They are beautiful when dusted with powdered sugar!
Tip:
 After plating these, dust them with powdered sugar and garnish the corner of the plate with lemon slices and fresh raspberries.
 Wednesday, March 9, 2011
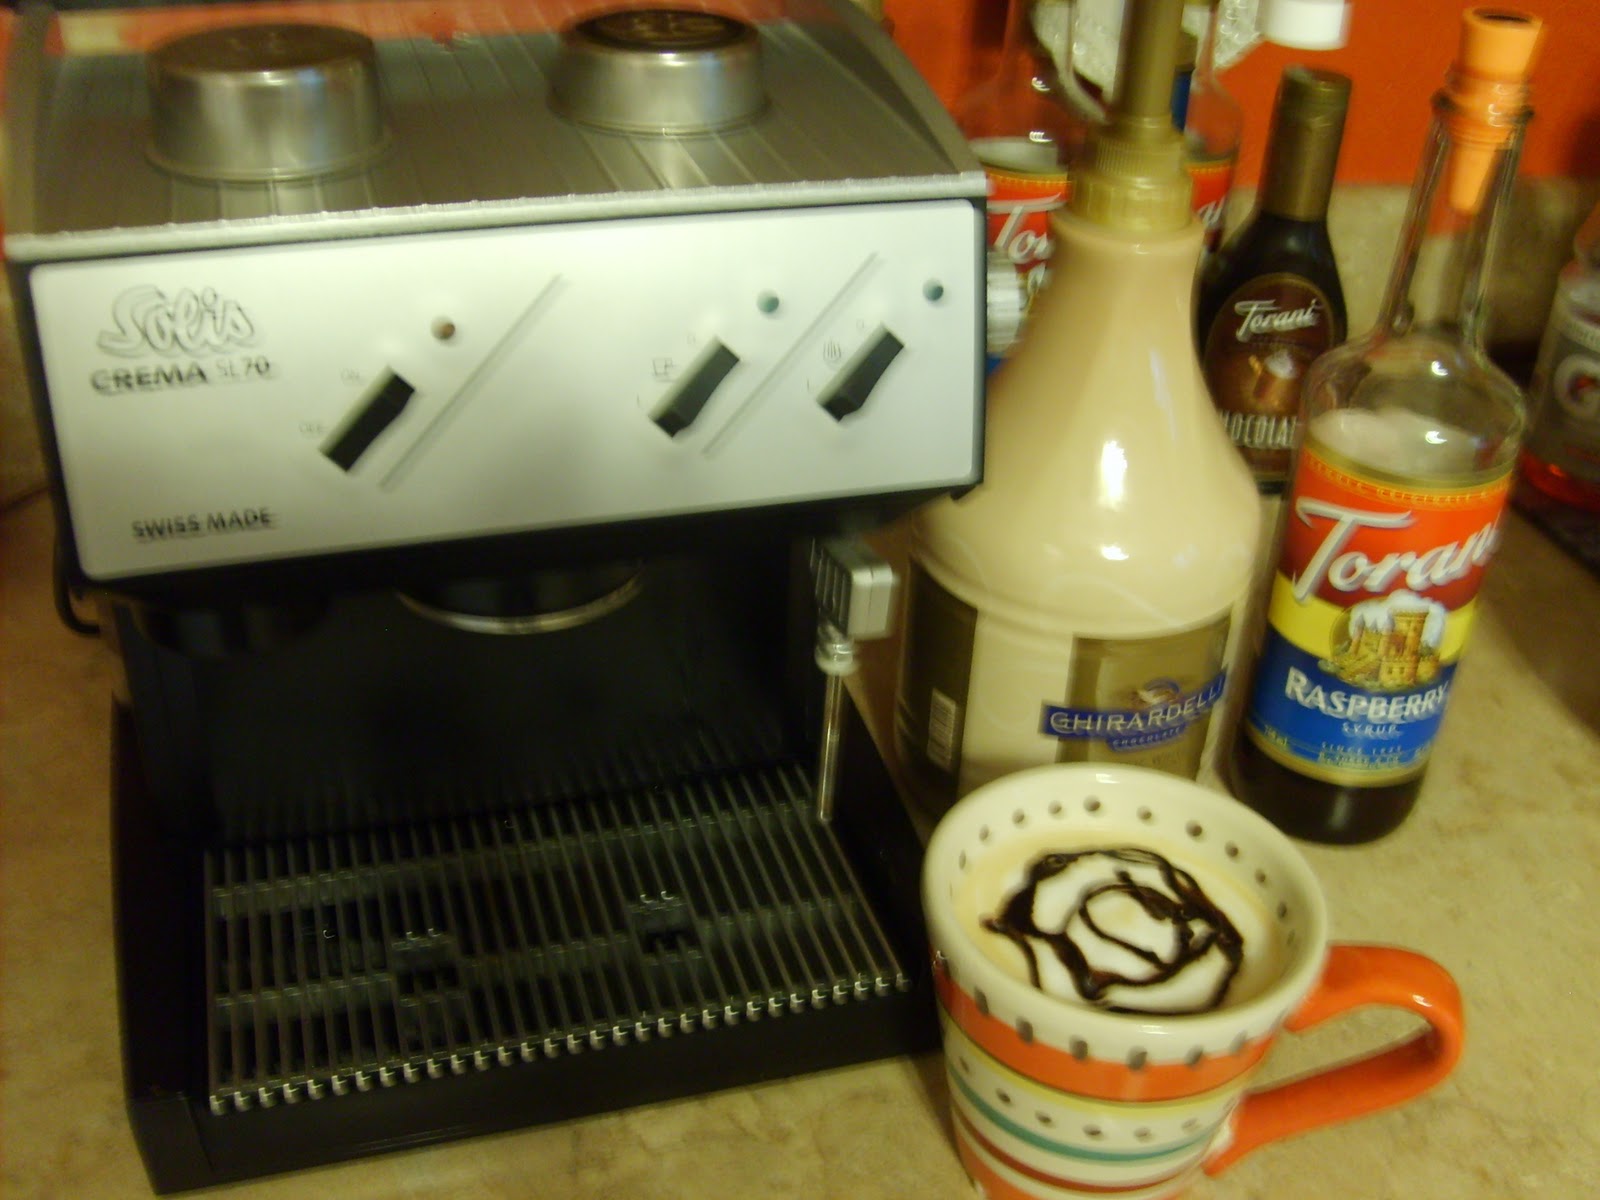
How to Make a Latte

You will have to convert this according to your own espresso machine, but here is the overall idea...
Espresso
3/4 to 1 cup Milk
Flavor of choice


(This is a photo of the espresso brewing. When brewing is complete, you pour the shots over your flavoring.)

Place thermometer securely inside the steel pitcher.
(As you can see here, I don't normally do this.)
Steam milk between 155ºF and 165F. It will scorch above 170ºF.
The steam wand should be inserted diagonally just below the surface of the milk.
(This will help you get the thick foam you desire.)

Pour steamed milk over espresso. Do not let your shots sit very long before pouring steamed milk over them. The steaming process should be done accuratly, but quickly. When pouring use a spoon to regulate the flow of the foam. Make sure no foam enters the drink until you are about 1/4 in. from the top, where you can remove your spoon. The result should be a nice brown foamy top with a small white foam center.
For an added touch, drizzle chocolate or caramel on top of the foam. Or, add whip cream to the top for sweeter sipping.
Monday, March 7, 2011
Pistachio Salad
When I was a little girl, I'd ask my mom to make "green stuff". This wonderful salad (as they call it), is wonderfully refreshing. So if you're looking for something green to mix up for St. Patrick's Day, here is a quick, easy, and delicious treat!
1 (20 ounce) can crushed pineapple
2 (3 ounce) package instant pistachio pudding mix
1 (8 ounce) container frozen whipped topping, thawed in refrigerator
1cup miniature marshmallows
In a large bowl, combine the pineapple and dry pistachio pudding mix. Fold in thawed whipped topping and marshmallows until well mixed. Refrigerate until chilled and serve.
Lemon Cheesecake Bars
Spring is in the air, and I am a big lemon fan. Here is a wonderful way to sweeten up the delicious lemon flavor for your dessert this week!
Crust
1 box lemon cake mix
1 egg
1 stick butter, melted
Filling
1 (8 oz.) package cream cheese, softened
2 eggs
1 teaspoon lemon extract
1 (16 oz.) box confections' sugar
1 stick butter, melted
Preheat oven to 350 degrees. Spray a 9x13" pan with non-stick cooking spray. In the bowl of an electric mixer, combine cake mix, egg, and butter and mix well. Pat into the bottom of prepared pan and set aside. Using the same bowl and electric mixer (no need to wash), beat cream cheese until smooth; add eggs, lemon flavoring, confectioners' sugar, and melted butter. Mix well. Pour filling onto cake mixture and spread evenly. Bake for about 40 minutes depending on your oven. The center should be a little gooey. Remove from oven and cool completely on a wire rack before cutting into squares.
Wednesday, March 2, 2011
Cola Chicken
This recipe was a hit the first time we tried it. I discovered it in the kids section of a Quick Cooking magazine and tried it out with rice, broccoli, and biscuits. The cola and ketchup turn out tasting like a sweet BBQ sauce. It is simply wonderful!
4-6 boneless, skinless chicken breasts or thighs
garlic salt
pepper
1/4 - 1/2 c. chopped onion
2 T. vegetable oil
1 (12oz.) can cola
1 c. ketchup
4 1/2 tsp. cornstarch
3 T. cold water
In a skillet, saute onion in oil until tender. Add chicken; sprinkle garlic salt and pepper over chicken; brown on all sides. Carefully add cola & ketchup. Cover and simmer for 25-30 min. or until chicken juices run clear. Remove the chicken and keep warm. Combine the cornstarch and cold water until smooth; add to the skillet. Bring to a boil; cook and stir for 2 min. or until thickened. Return chicken to the pan and heat through. The can of cola gives a nice barbecue flavor. The gravy is wonderful when served over rice.
Meal suggestion:
Cola Chicken
Rice
Steamed Broccoli
Biscuits and Honey Butter
Subscribe to:
Posts (Atom)